How To Setup a Freelancer Profile On FreelancingPost: In today’s blog post, we will see how you can set up your profile on Freelancing Post.
A freelancer profile is not just a formality. It is your online resume, portfolio, and personal brand combined into one. When clients browse freelancers, they usually make decisions within seconds. A well-crafted profile increases your chances of getting noticed, building trust, and ultimately getting hired.
Experts often emphasize that a complete and professional profile significantly improves your chances of success because it clearly communicates your skills, experience, and value to clients.
Step 1: Create Your Account on FreelancingPost
The first step is to sign up on FreelancingPost using your email address or social login. Make sure to use your real name and professional details, as this builds credibility from the beginning.
After registration, verify your email and log in to your dashboard. This is where you will start building your freelancer profile step by step.
Read This Post for How To Create Account – Click Here
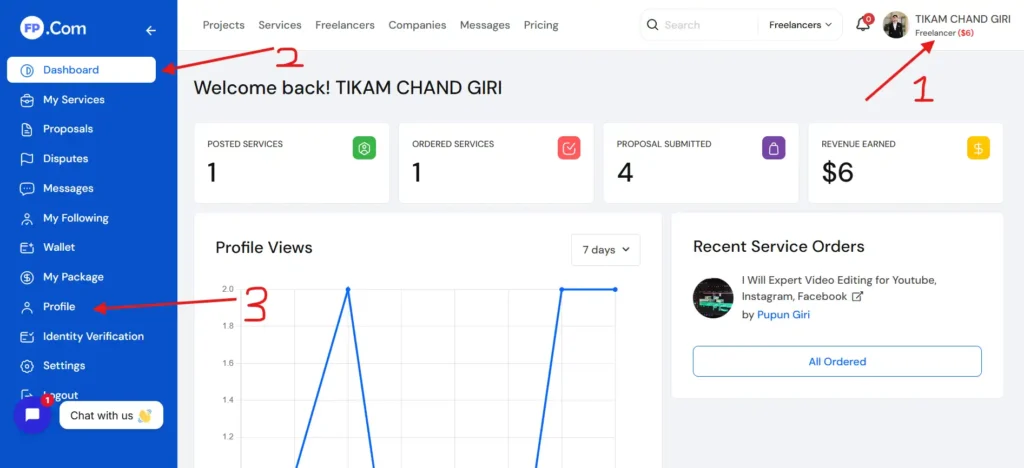
Step 2: Login on FreelancingPost Dashboard
Now login to the dashboard of your freelancer account and click on the profile section.
- Dashboard URL – Click Here
- Profile Setup URL – Click Here
Step 3: Now Setup Profile
Now you can increase the strength Up to 100% of your profile by providing all the details in your freelance account.
- Basic Info – Your Photo, Name, DOB, Location, Salary, Etc
- Education – Add Your All Educations
- Experience – Add Your All Experience
- Skills – Add Your All Skills
- Awards – Add Your All Awards

Final Thoughts:
Setting up a freelancer profile on FreelancingPost is not difficult, but doing it correctly makes a huge difference. A well-optimized profile helps you stand out, attract clients, and build a strong freelancing career.
Focus on clarity, honesty, and professionalism. Avoid rushing the process. Take your time to build a profile that truly represents your skills and personality.
For a better understanding and step-by-step demonstration, don’t forget to watch this video: